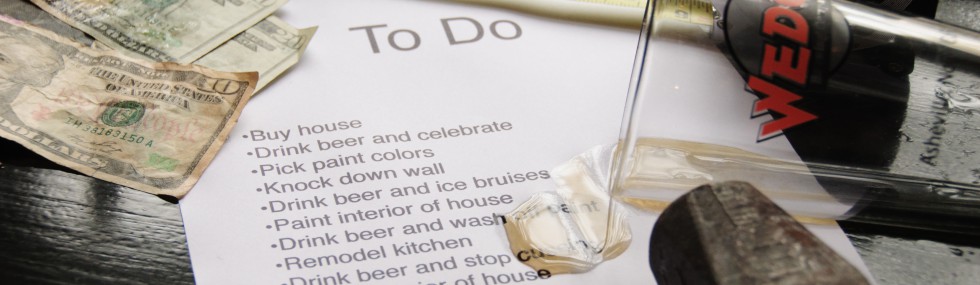
“And all the possibilities of her imagination are turning into her reality” – Christine Kane
It’s done. The wall is finished! It looks great and what a great job John did. We now have more of an open floor plan and the house is so light and bright.
Lets start at the beginning. This is what “the wall” looked like when we bought the house.
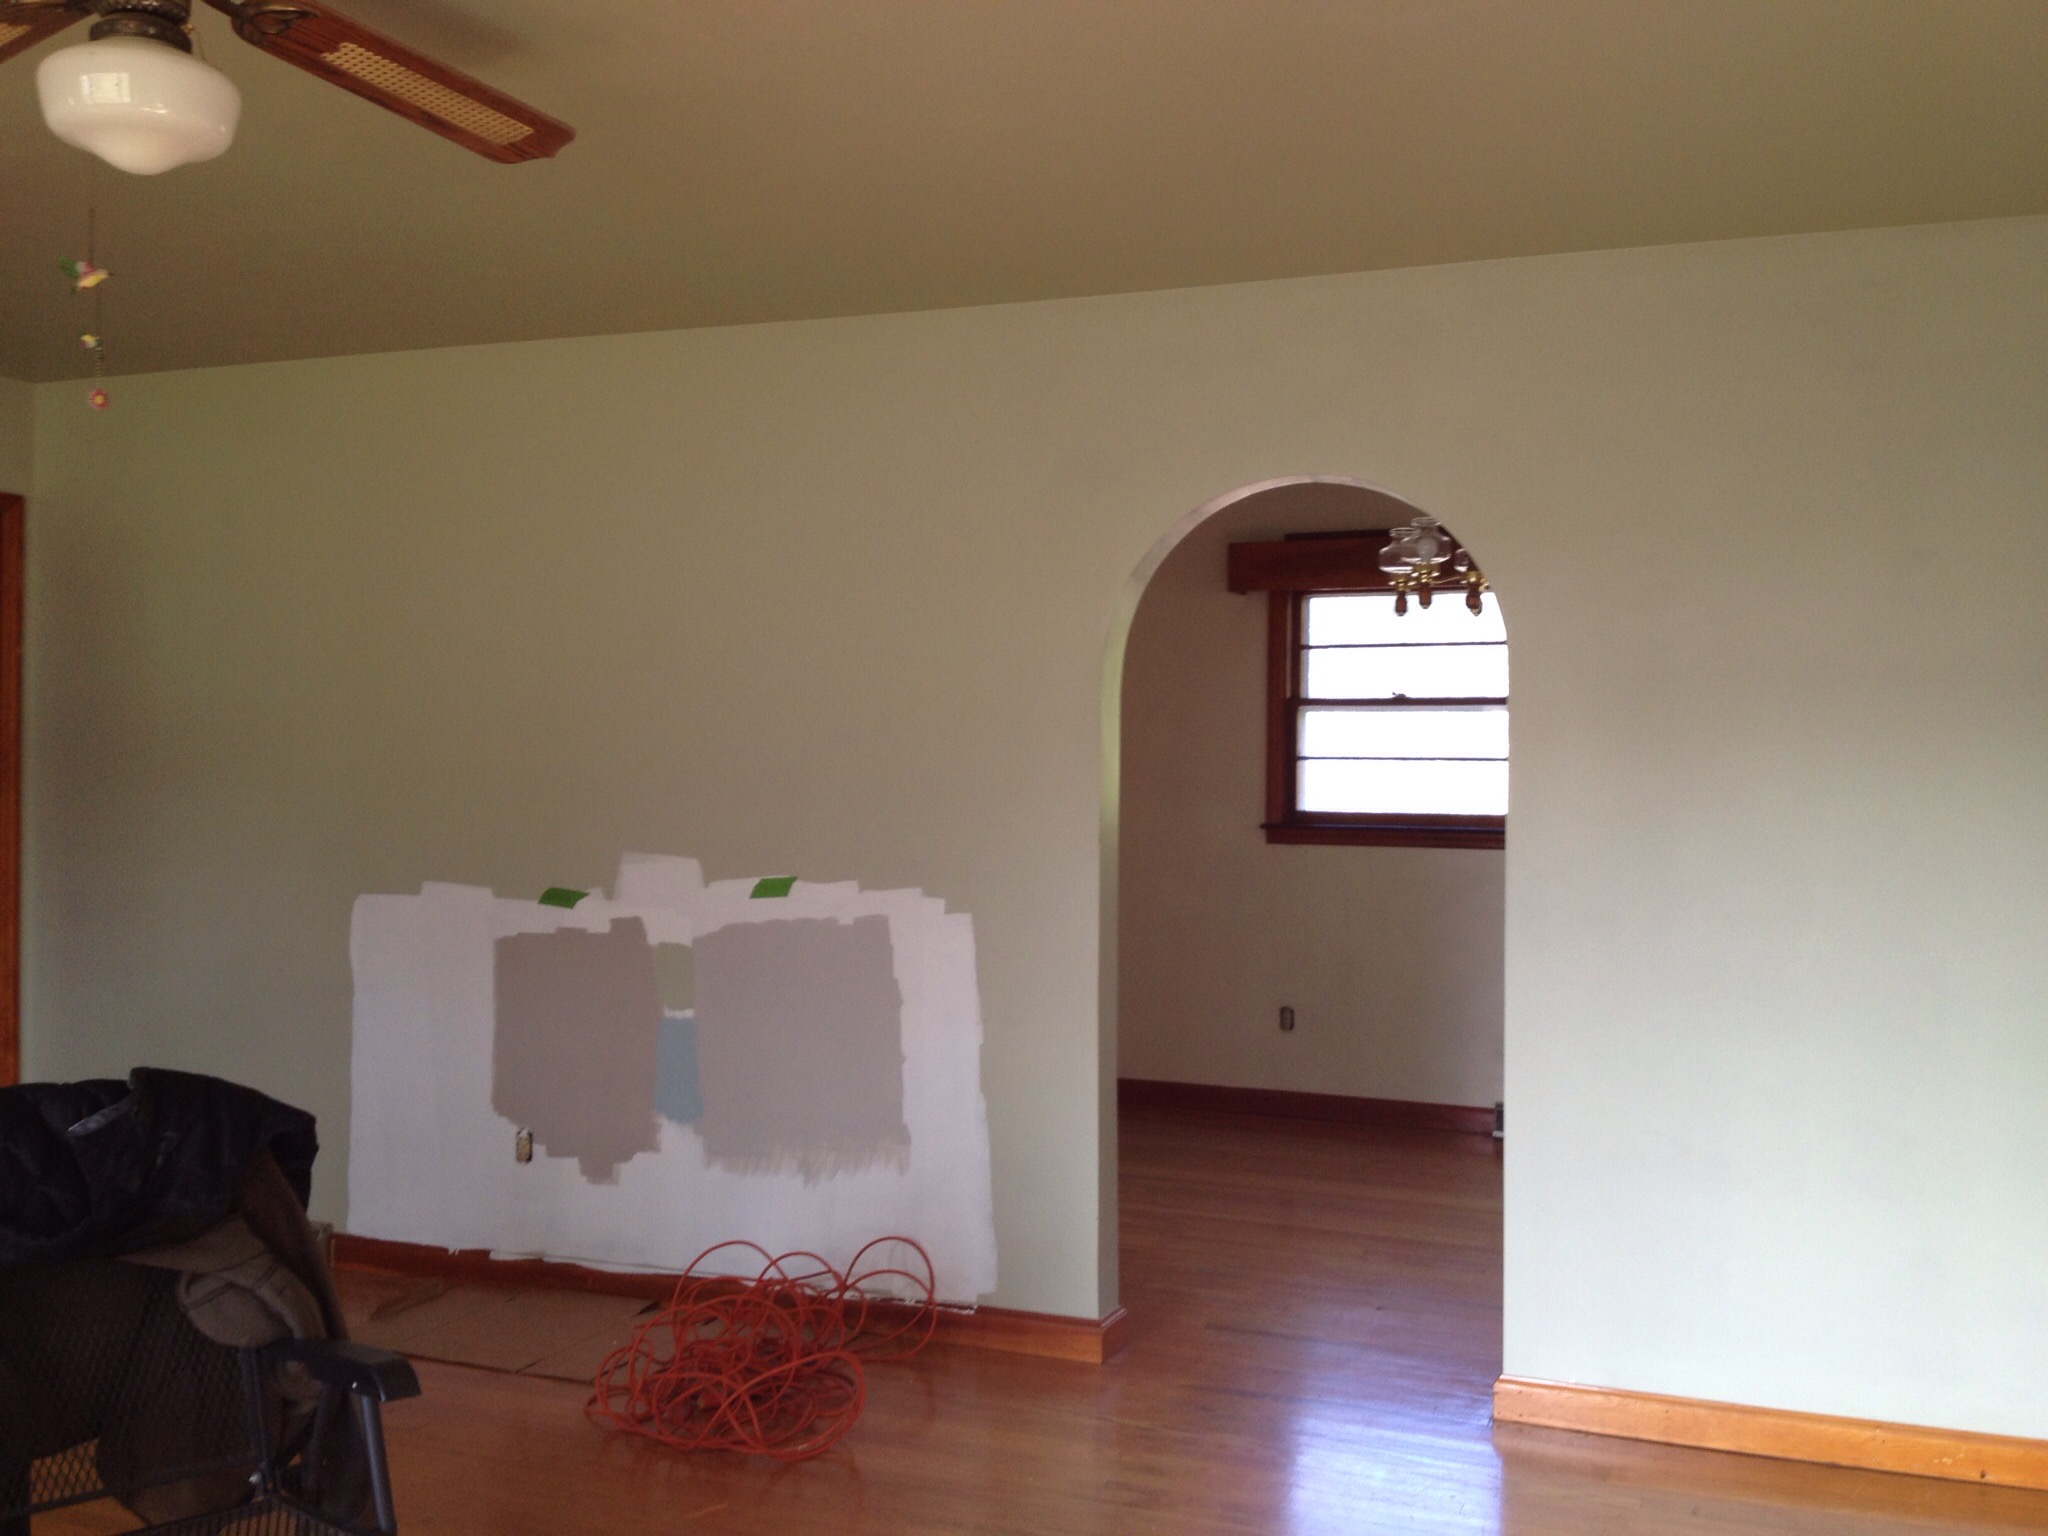
This is a semi load bearing wall. Therefore, we needed to create headers for our openings. First thing that was done was open up the entry into the dining room. John set up a temporary wall and started deconstruction of the archway. Tearing out drywall and plaster is a very dirty job. John cut the 2×4’s out and the temporary wall kept the ceiling in place.
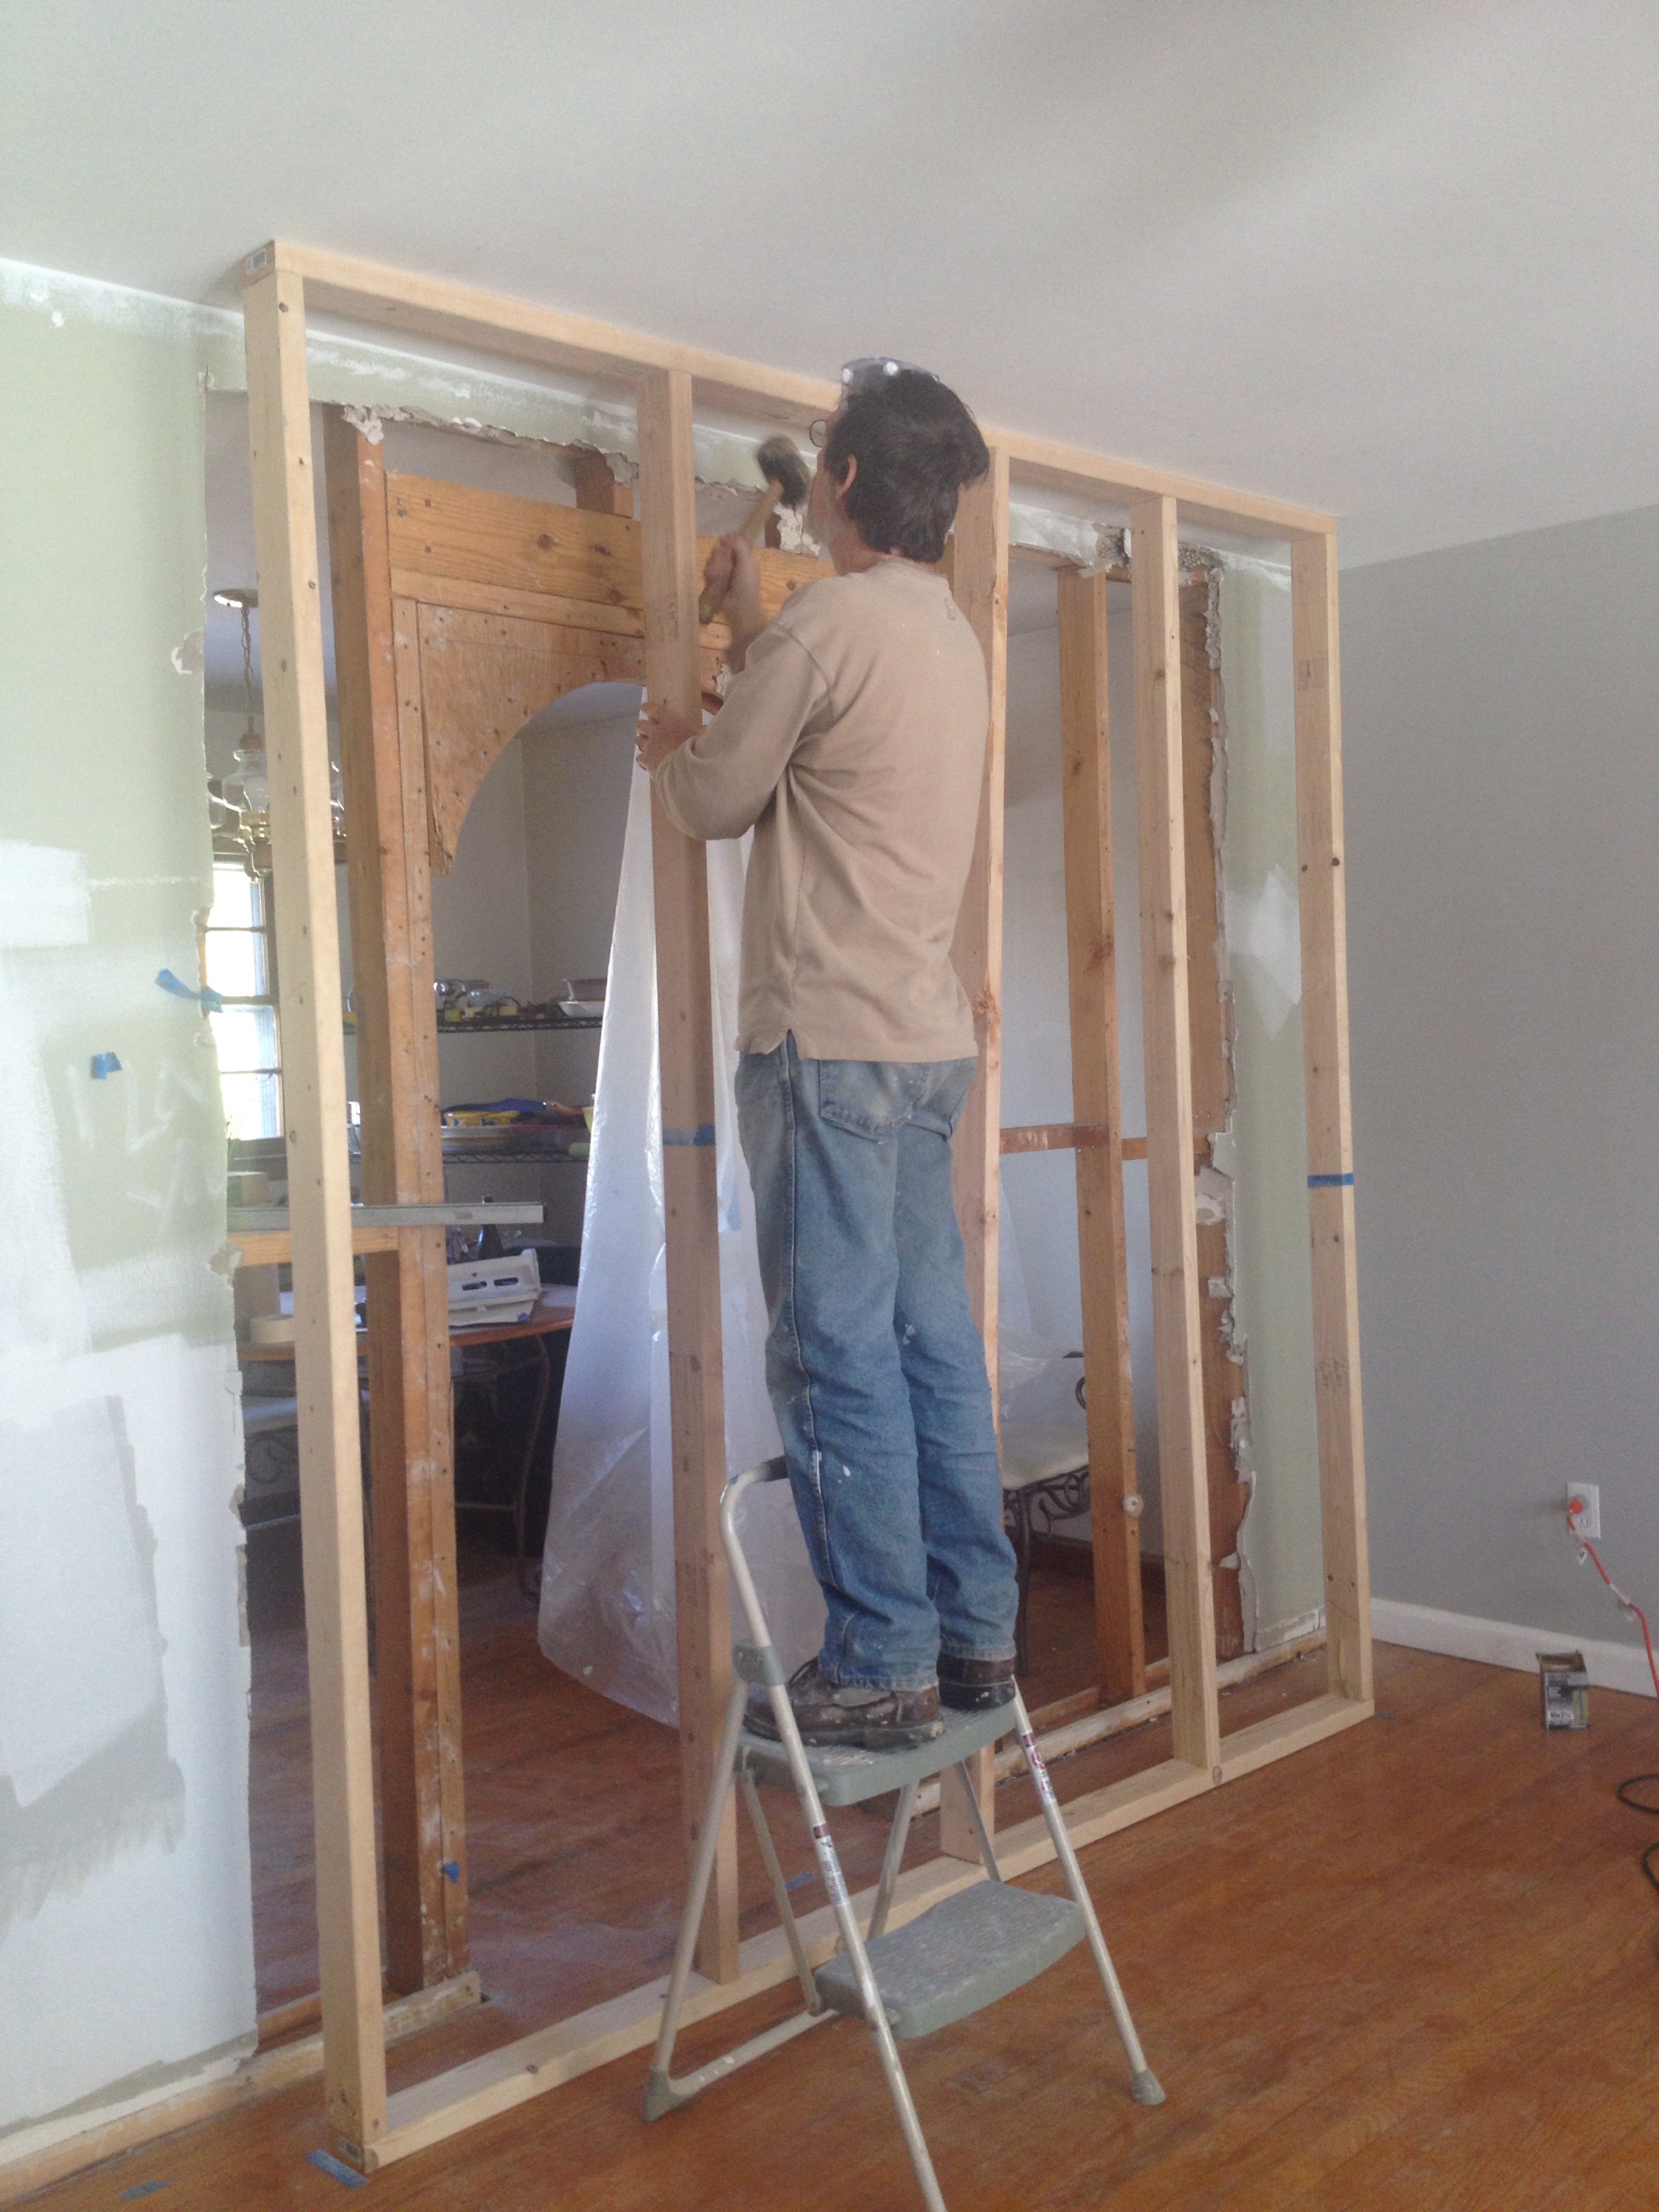
John put 3 2x4s (called jack studs) up against the original 2x4s to create the walls of the opening. The header, made up of 2 2x10s with 1/2 plywood sandwiched in between, were fastened to the jack studs.

This process was also done for our window opening
.
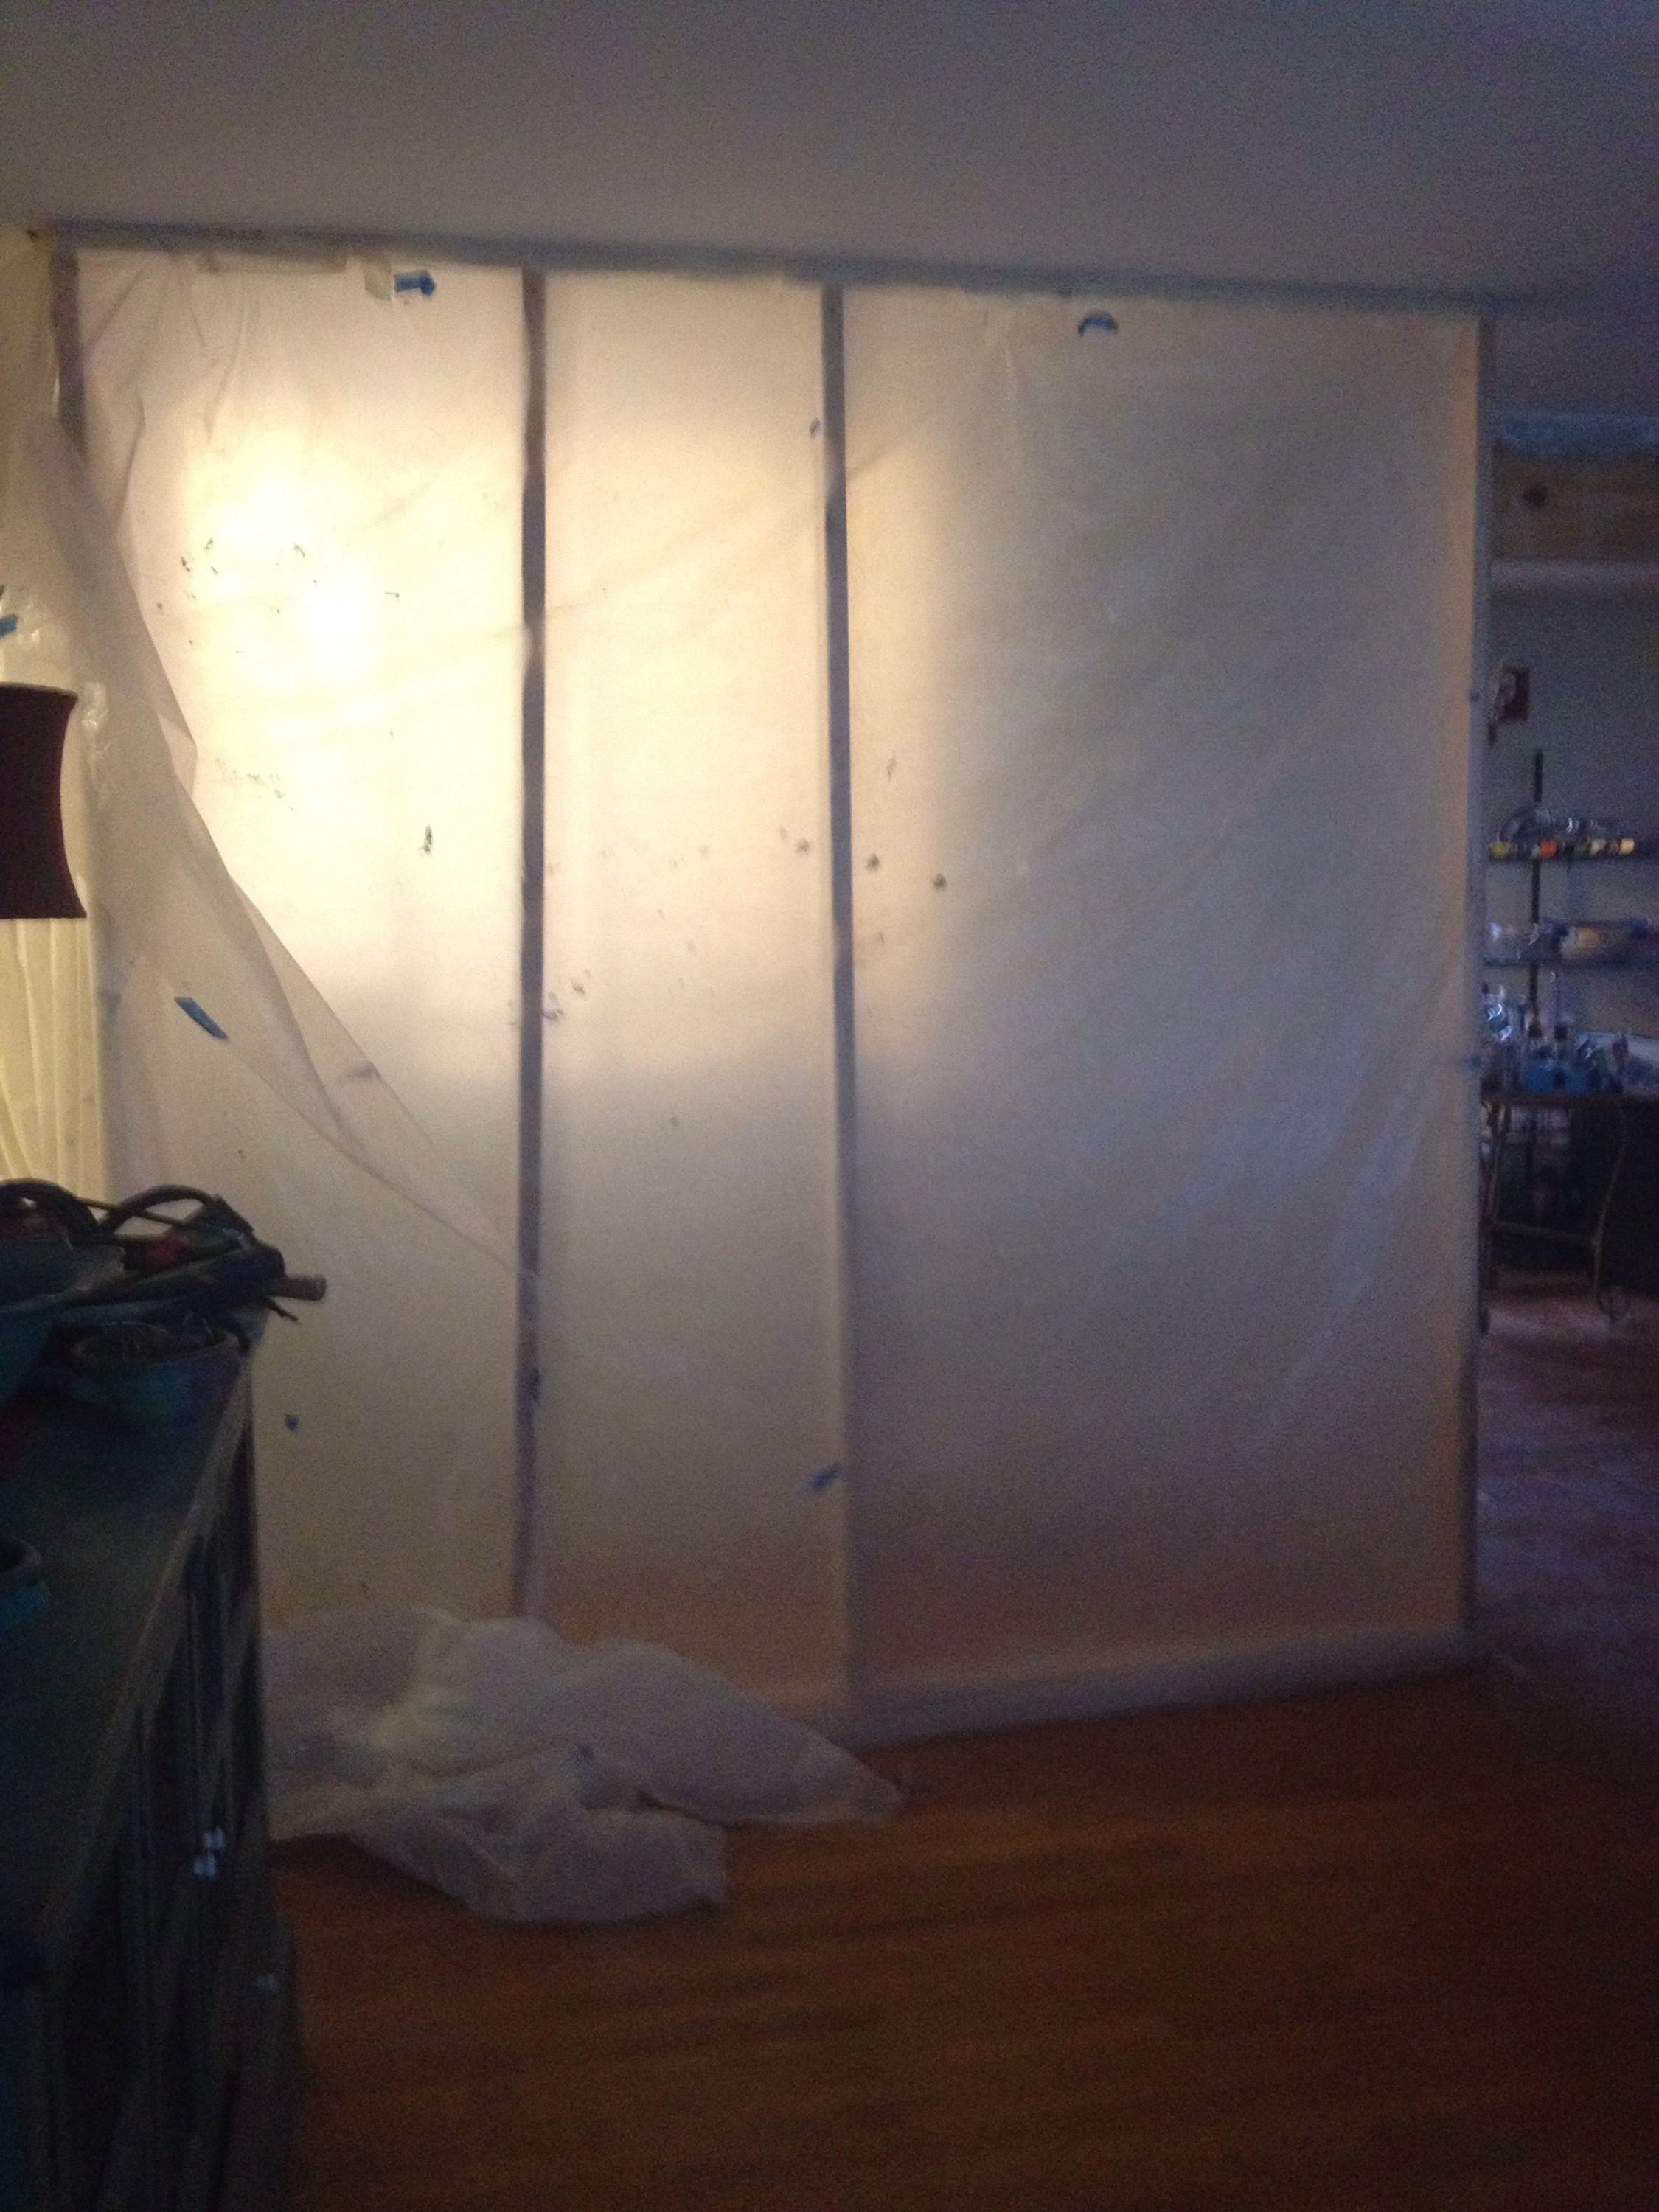
Once both openings were framed, John then had to repair the walls. Using drywall and spackling, he put on many layers to build the wall back up. Its messy when the sanding starts. The below picture is what John put up during deconstruction and reconstruction. Still, the dust was everywhere!
Once the walls were finished, the painting began. Once the walls were painted the trim went up. And bam! It’s beautiful!!
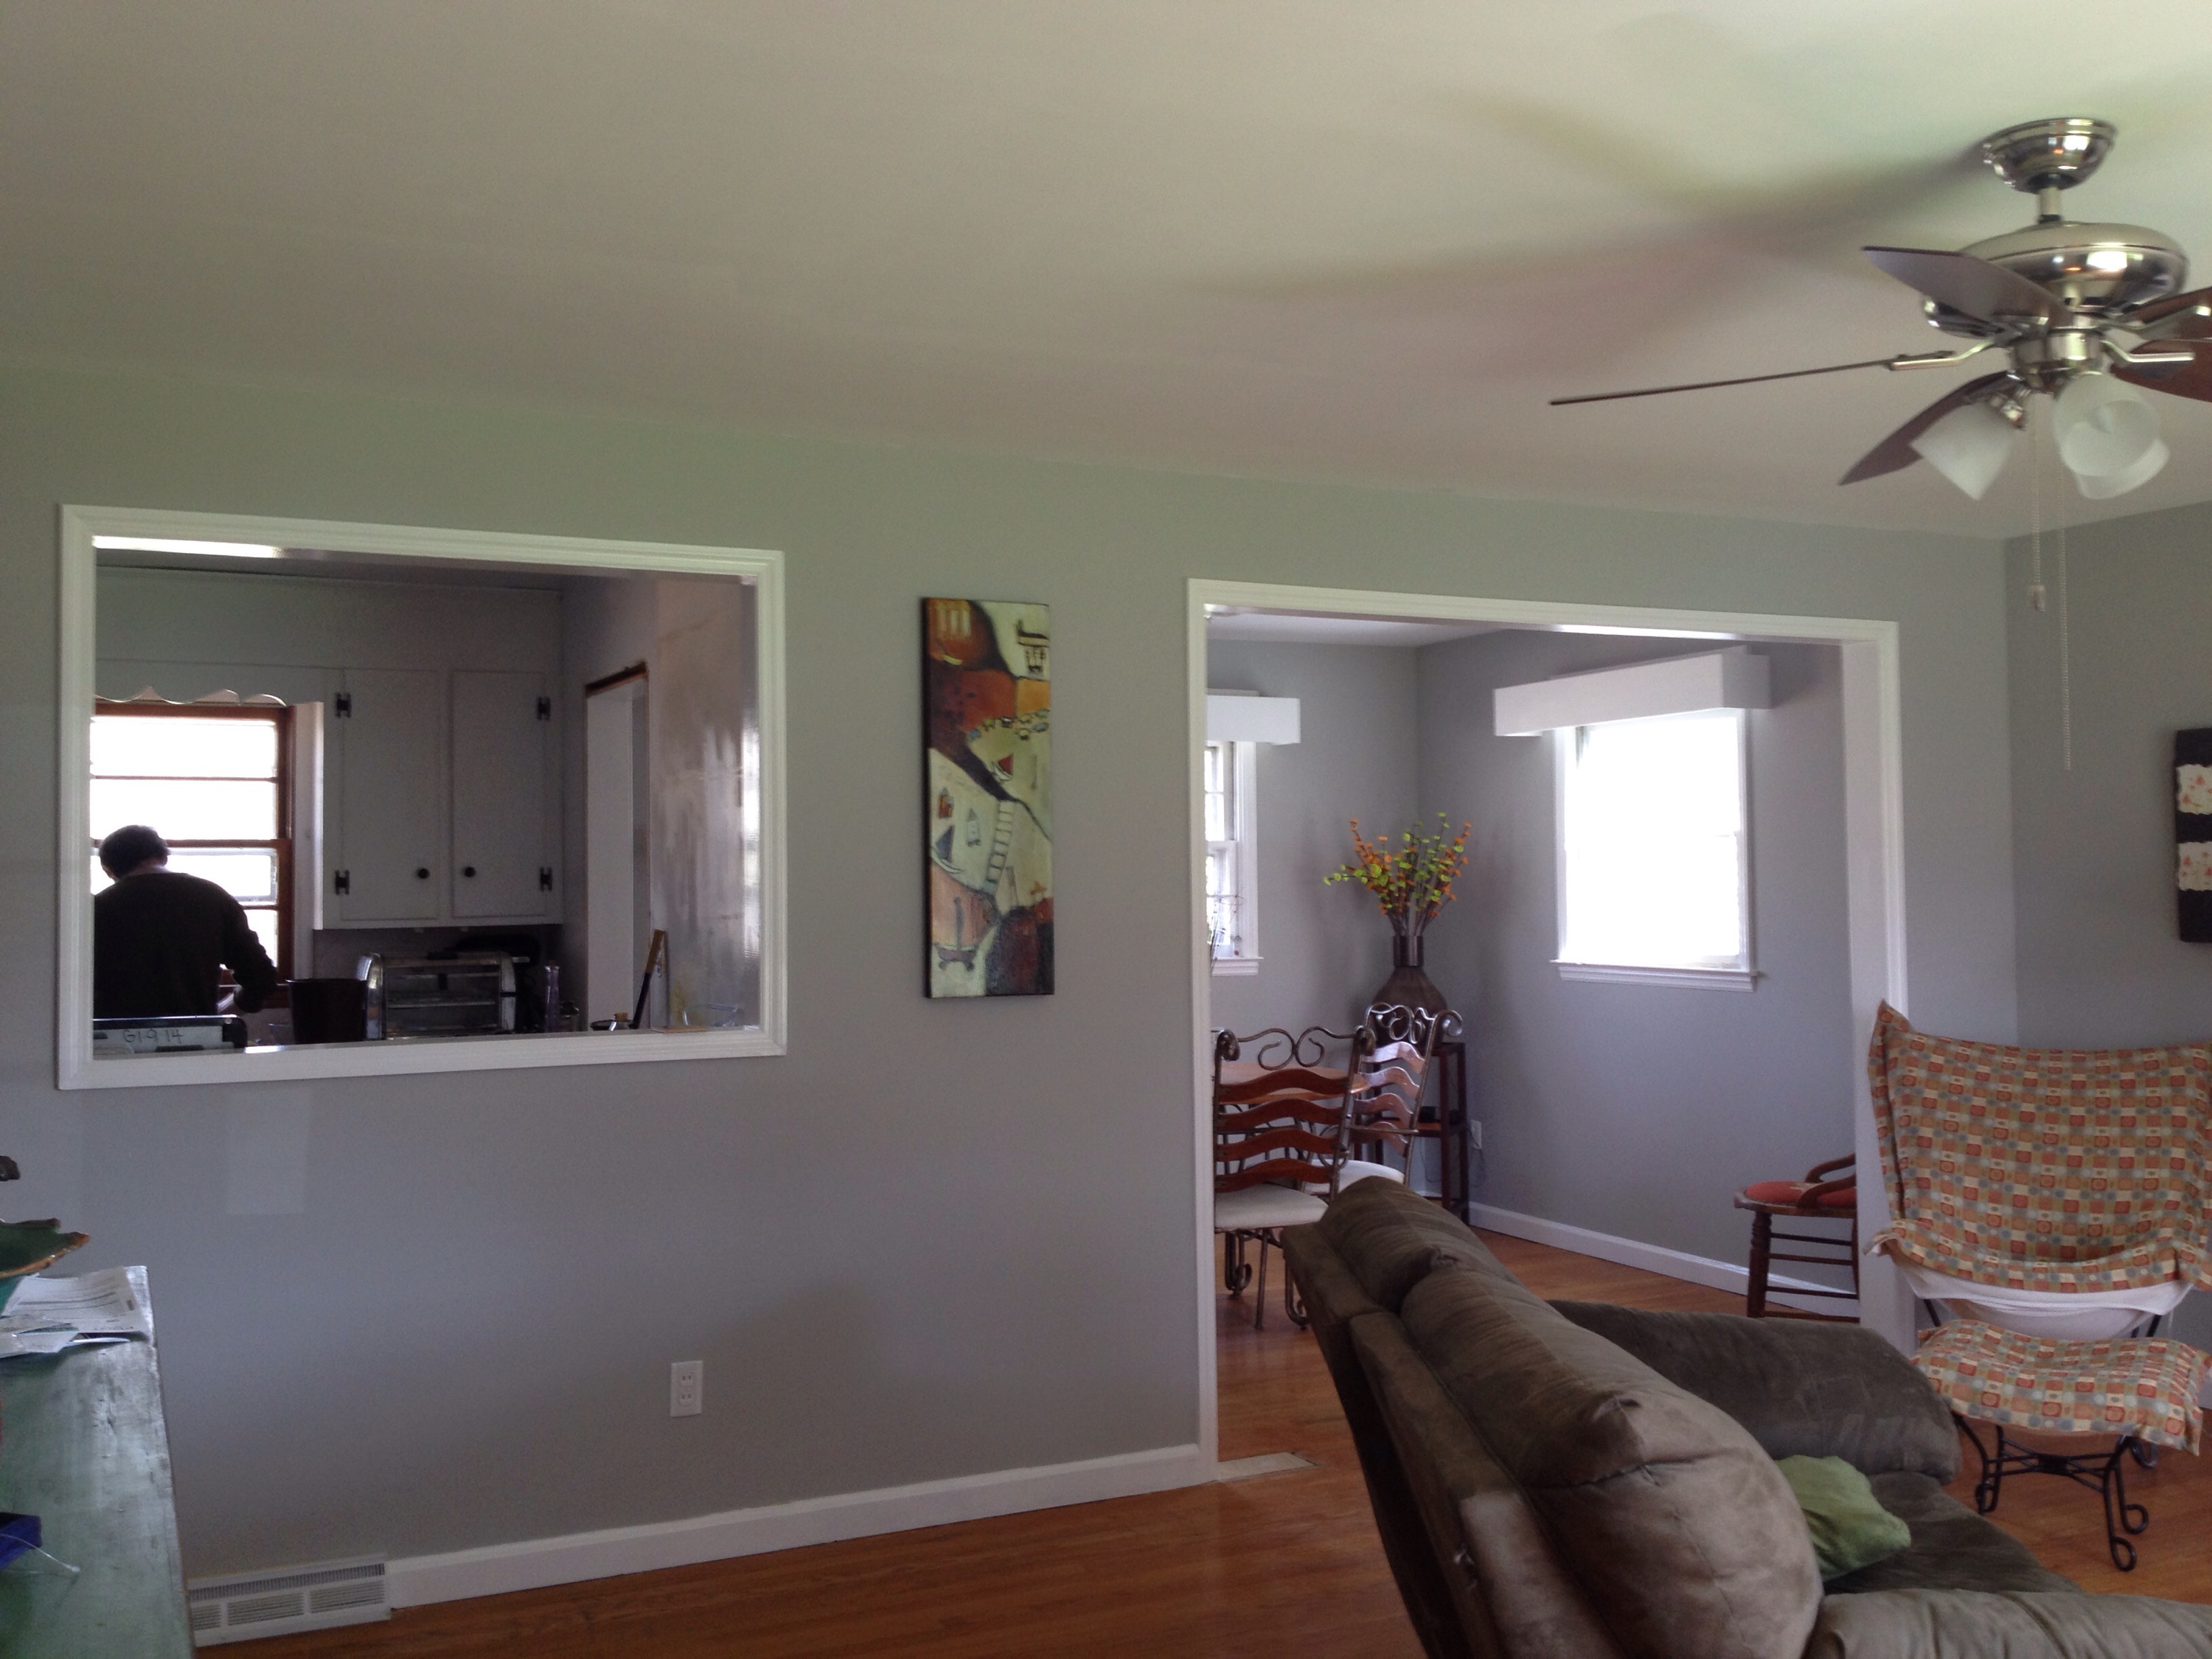
Again, before and after:
We are loving our house!
Next up, some small projects and then the kitchen remodel!
Lyrics from “Virginia” by Christine Kane.

I’m in love! Great job!!!
LikeLiked by 1 person